How to setup feature flags in React

Introduction
In this blog post, we are going to see how to implement feature flags in a React application. This will allow us to test features in production without impacting our actual users and to control our app instantly without the need for a slow deployment cycle.
We will build a React application using Vite that allows us to search NPM packages by name using the NPM API and ReactQuery. We will then see how to use feature flags to display features to some users only, control plan limits, and A/B test wordings. Let's jump right in!
Understanding feature flags
What are feature flags?
At their core, feature flags, also known as feature toggles or feature switches, are conditional code segments that allow developers to turn specific functionalities of an application on or off, without the need for a redeploy. Think of them as light switches for your application's features. With a flick, you can illuminate a room—or in this case, activate a feature—or leave it in the dark.
Benefits of using feature flags
-
Incremental Rollouts: Feature flags allow for a phased release of new features. Instead of pushing a new feature to your entire user base, you can test it with a smaller group first, making adjustments based on feedback before a full-scale launch.
-
Risk Mitigation: If a newly released feature has unexpected bugs or issues, a feature flag allows developers to quickly turn it off without rolling back the entire deployment. This ensures that users aren't affected by problematic features.
-
A/B Testing: By using feature flags, you can present different versions of a feature to different user groups. This helps in understanding which version is more effective or preferred by users.
-
Safe Environment for Experimentation: Developers can work on new features in the main codebase without affecting the live application. Once the feature is ready and tested, it can be activated using the feature flag.
-
Flexibility in Business Decisions: Sometimes, business requirements can change rapidly. With feature flags, product teams can adapt quickly, activating or deactivating features based on strategic decisions.
While the above benefits make a compelling case for the adoption of feature flags, it's essential to remember that they introduce a layer of complexity. As your application grows, managing multiple feature flags can become challenging. However, with careful planning and the right tools, these challenges can be effectively navigated.
Now that we understand what feature flags are and their benefits, let's dive into how we can integrate them into a React application.
Choosing the right feature flag tool for React
While building your own feature flag solution from scratch is perfectly feasible with enough time and resources, you also have the option to use an existing tool that does not require any investment on your part. In the rest of this article, we will use Tggl and its React SDK, but any alternative should do.
Setting up the project
Start by creating a new Vite project:
npm create vite@latest my-project -- --template react-ts
cd my-project
npm install
Now the first thing we want to do is set up ReactQuery to manage our asynchronous state. Start by installing the dependency:
npm i @tanstack/react-queryThen add a few lines of code to src/main.tsx to instantiate the client and make it available to your app:
import React from 'react'
import ReactDOM from 'react-dom/client'
import App from './App.tsx'
import './index.css'

import {
  QueryClient,
  QueryClientProvider,
} from '@tanstack/react-query'

const queryClient = new QueryClient()

ReactDOM.createRoot(document.getElementById('root')!).render(
  <React.StrictMode>
    <QueryClientProvider client={queryClient}>
      <App />
    </QueryClientProvider>
  </React.StrictMode>,
)
Now that everything we need is in place we can start fetching packages from the NPM API. Go to src/App.tsx and replace its content with the following code:
import { useState } from "react";
import "./App.css";
import { useQuery } from "@tanstack/react-query";

function App() {
  const [search, setSearch] = useState("");
  const { data, isFetching } = useQuery({
    queryKey: ["search", search],
    queryFn: () =>
      fetch(`https://registry.npmjs.com/-/v1/search?text=${search}`)
        .then((res) => res.json())
        .then((data) => data.objects),
    placeholderData: [],
  });

  return (
    <>
      <input value={search} onChange={(e) => setSearch(e.target.value)} />
      {isFetching && <div>Loading...</div>}
      {data.map((result) => (
        <div>{result.package.name}</div>
      ))}
    </>
  );
}

export default App;
ReactQuery makes data fetching very straightforward. First, we use the useState hook to store the value of our search bar, this value is then passed to the <input /> and gets updated every time the user types a character.
Then the useQuery hook is used to do the fetching, notice that the search state is used in both the queryKey and the URL passed to the fetch function. We also have an empty array as a placeholder to avoid any edge case when loading the page for the first time.
Finally, we display a loading indicator and the results below our search bar in a very simplistic manner.
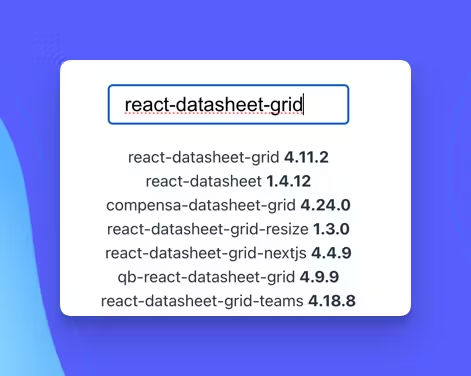
Our minimalistic app now looks like this:
Adding feature flags to our React project
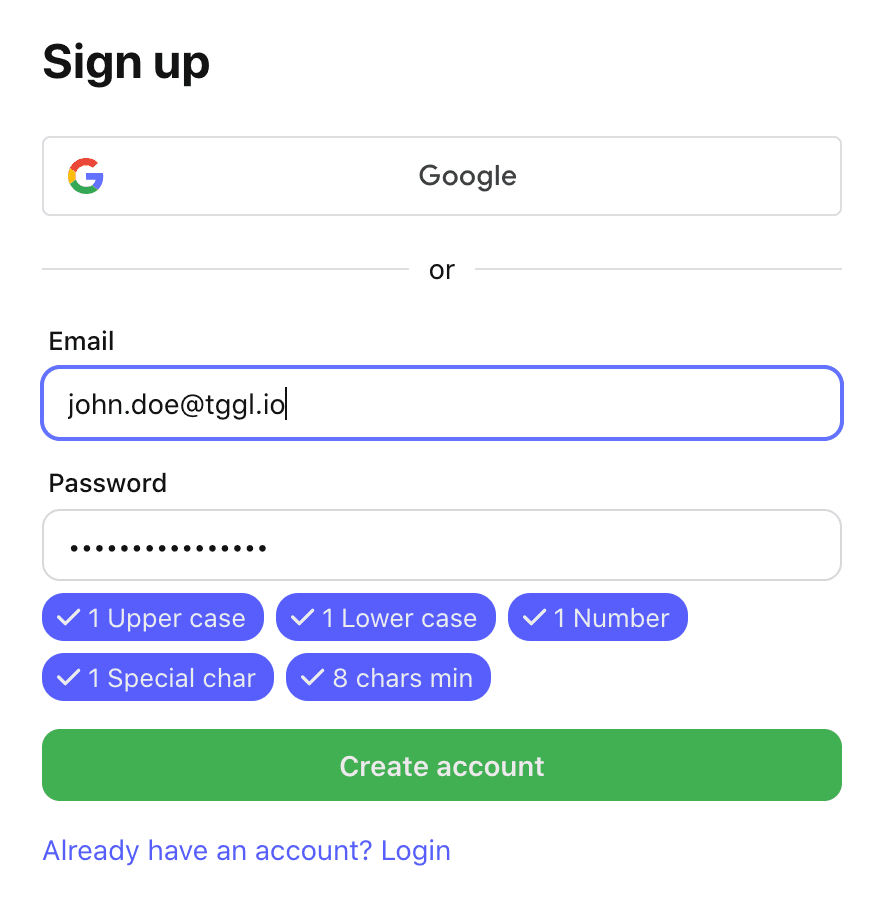
Tggl is a great feature flag service with a very well-made interface that will allow us to control our flags directly without having to build or host anything ourselves. Start by creating an account.
Now you can install the Tggl SDK that will manage all the complexity of feature flags for us:
npm i react-tggl-clientThen add a <TgglProvider /> in your main.tsx alongside the QueryProvider:
import { TgglClient, TgglProvider } from "react-tggl-client";

const queryClient = new QueryClient();
const client = new TgglClient("YOUR_API_KEY");

ReactDOM.createRoot(document.getElementById("root")!).render(
  <React.StrictMode>
    <QueryClientProvider client={queryClient}>
      <TgglProvider client={client}>
        <App />
      </TgglProvider>
    </QueryClientProvider>
  </React.StrictMode>,
);
Now let's add a feature to our app: we'd like to show the package version alongside its name. And we would like to control the rollout of the feature via a feature flag. The Tggl SDK makes this part dead simple:
import { useFlag } from "react-tggl-client";
function App() {
const [search, setSearch] = useState("");
const { data, isFetching } = useQuery({
queryKey: ["search", search],
queryFn: () =>
fetch(`https://registry.npmjs.com/-/v1/search?text=${search}`)
.then((res) => res.json())
.then((data) => data.objects),
placeholderData: [],
});
const { active } = useFlag("showVersion");
return (
<>
<input value={search} onChange={(e) => setSearch(e.target.value)} />
{isFetching && <div>Loading...</div>}
{data.map((result) => (
<div>
{result.package.name}
<b>{active && result.package.version}</b>
</div>
))}
</>
);
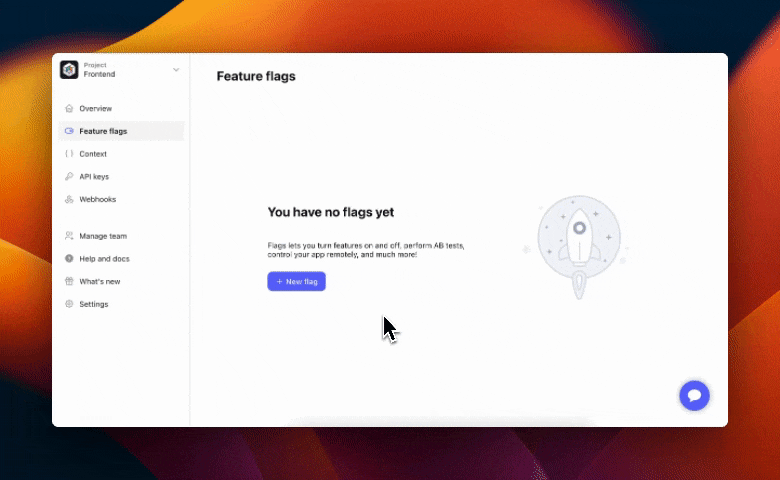
}If we go back to our app now, the version number is not displayed because the flag does not exist yet, it is considered to be off by default. To create the flag simply go to the Tggl dashboard and hit new. You can choose the "Private Beta" template to get started, and make sure to give it the same key as the one you chose in your code:
By default, the flag is active for all users with an email that ends with @acme.com, but how do we tell Tggl which user is currently visiting the page? We need to update the context, which is a simple object with arbitrary keys: we can pass it the user ID, email, current plan, app version, or any other information that you may want to use later to segment users. Let's pass it the user's email to see if the version number is showing up as expected.
Let's create a simple <Auth /> component:
import { useTggl } from 'react-tggl-client'
import { useEffect } from 'react'

export const Auth = ({ children }) => {
  const { setContext } = useTggl()

  useEffect(() => {
    setContext({
      email: 'hello@acme.com',
    })
  }, [setContext])

  return <>children</>
}
Here we hard coded the user's email, but in a real-world application you would hook that based on the authentication system that you have in place. And because the email we chose ends with @acme.com, we should be able to see our new feature:
Try changing the context from your code, or the conditions on Tggl to see the result! We have successfully used feature flags to release our first feature in our React application 🎉
Conclusion
Implementing feature flags in React applications is a game-changing approach that offers developers unparalleled flexibility. It empowers teams to release features incrementally, test new ideas safely, and respond rapidly to the ever-changing requirements of the digital world.
But as with all powerful tools, the key lies in understanding how to wield it effectively. By familiarizing yourself with the concepts of feature flags, selecting the right tools like Tggl, and adhering to best practices, you'll position your React application for success. You'll be able to innovate with confidence, minimize risks, and provide users with the best experience possible.
Remember, in the world of software development, adaptation and flexibility are paramount. Feature flags in React are more than just a technique; they represent a philosophy that champions adaptability and continuous improvement. So, dive in, experiment responsibly, and pave the way for a brighter, more feature-rich future for your React projects.