5 tools to drastically reduce bugs in production
Bugs in production can be costly and frustrating for businesses and their customers. Not only do they lead to lost revenue and customer dissatisfaction, but they also require time and resources to fix.
That's why it's important to take a proactive approach to bug prevention and management. In this blog post, we'll be discussing five effective ways to drastically reduce bugs in production. By implementing these methods in your development process, you can improve the quality and reliability of your products and deliver a better experience to your users. In the following sections, we'll explore each of these methods in detail and provide examples of how they can be applied in real-world situations. So, without further ado, let's dive in!
1 -Write unit tests and track coverage
As your application becomes increasingly complex, you need to make sure all the building blocks of your code work as expected and will continue to work when people make changes to it. This is where unit tests come in. Unit tests are a type of automated testing that allows developers to test individual units of code, typically functions or methods, in isolation from the rest of the system. By testing these individual units, developers can catch defects early on in the development process, leading to higher-quality code and ultimately a better end product.
Unit tests work by executing the code being tested and comparing the results against expected outcomes. If the results match the expected outcomes, the test passes. If they don't match, the test fails and the developer must debug and fix the code.
In Javascript, unit tests written with Jest might look like this:
function addOneMonth(date: string) {
  // Do complexe date computation
}

test('adds one month from the middle of the month', () => {
  expect(addOneMonth('2023-01-17')).toBe('2023-02-17');
});

test('adds one month from the end of the month', () => {
  expect(addOneMonth('2023-01-31')).toBe('2023-02-28');
});
Unit tests are important for several reasons:
-
They help to ensure that the code works as expected: Unit tests allow checking the actual output of a function against the expected result.
-
They facilitate refactoring: Unit tests provide a safety net for developers to make changes to code without fear of introducing new defects.
-
They improve code quality: Writing unit tests requires developers to think about edge cases and unusual inputs, which can lead to more robust and well-tested code.
-
They save time and money: Catching defects early in the development process is typically less expensive and time-consuming than fixing them later on.
Overall, unit tests are an important tool for software development teams to ensure that their code is of high quality, reliable, and free of defects.
When it comes to unit testing, one concept that is often mentioned is code coverage. Code coverage is a measurement of how much of your code is covered by unit tests. In other words, it tells you what percentage of your code is executed by your tests. While having a high code coverage percentage doesn't necessarily mean that your code is bug-free, it does give you a good indication of how thoroughly your code has been tested.
You can use tools like Codecov to track your code coverage and make sure you're testing all the right areas. It comes with features that let you track coverage changes on pull requests, see precisely which lines are missing, and even lets you set up coverage thresholds for all new code that is written.
2 - Setup a staging environment
As a software developer, you're likely familiar with the importance of testing your code before releasing it into production. One of the best ways to do this is by using a staging environment, also known as a test environment. In this section, we'll explore what a staging environment is, how to set one up, and the benefits it can bring to your software development process.
Simply put, a staging environment is a replica of your production environment, where you can test your code changes in a controlled environment before releasing them to your users. It's a place where you can simulate real-world scenarios and ensure that your code performs as expected under different conditions.
Setting up a staging environment is relatively straightforward. Ideally, it should be as close to your production environment as possible, including the same hardware and software configurations. You can either use a separate server or a virtual machine to create your staging environment, depending on your requirements.
Once you have your staging environment set up, you can use it to test new features, bug fixes, and performance improvements before releasing them to your users. This can help you catch issues early on in the development process, saving you time and money in the long run. It also helps to ensure a smoother release process, as you can identify and resolve any issues in the staging environment before releasing your changes into production.
Using a staging environment also enables you to collaborate more effectively with your team members. You can share your staging environment with other developers, testers, and stakeholders, allowing them to test your changes and provide feedback. This can lead to a more collaborative and productive development process, as you can catch issues earlier and resolve them more quickly.
This task may seem quite daunting, but tools like Netlify and Heroku have this feature built-in. With only a few clicks you can have a dedicated environment spin up on all pull requests, with a separate database, making review seamless.
3 - Manage releases with feature-flags
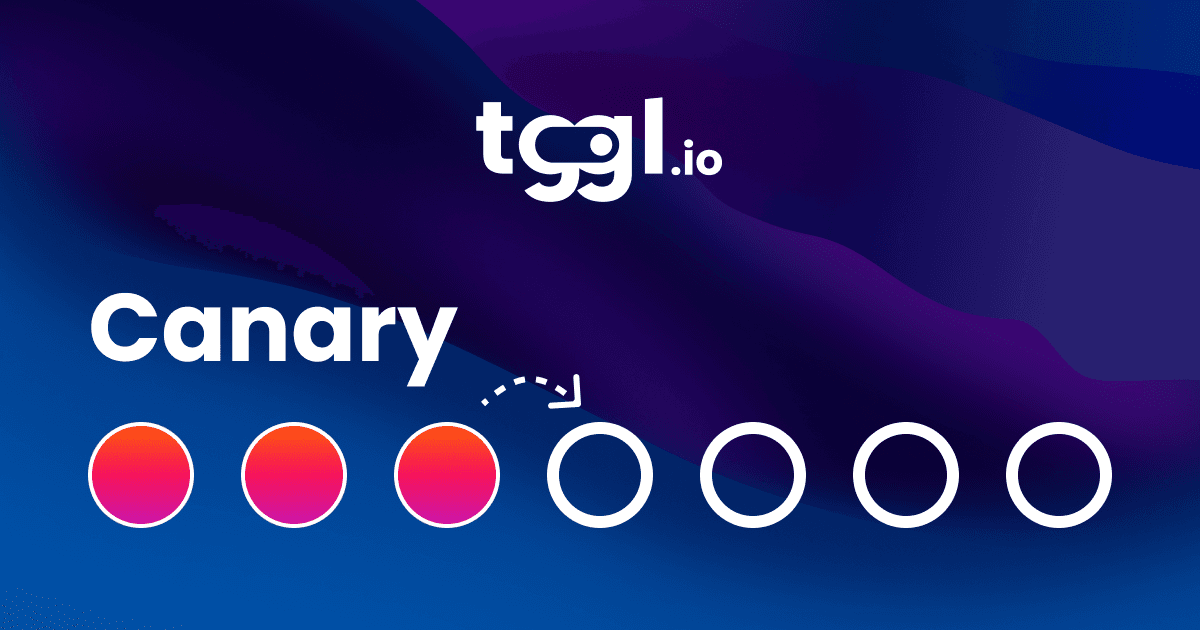
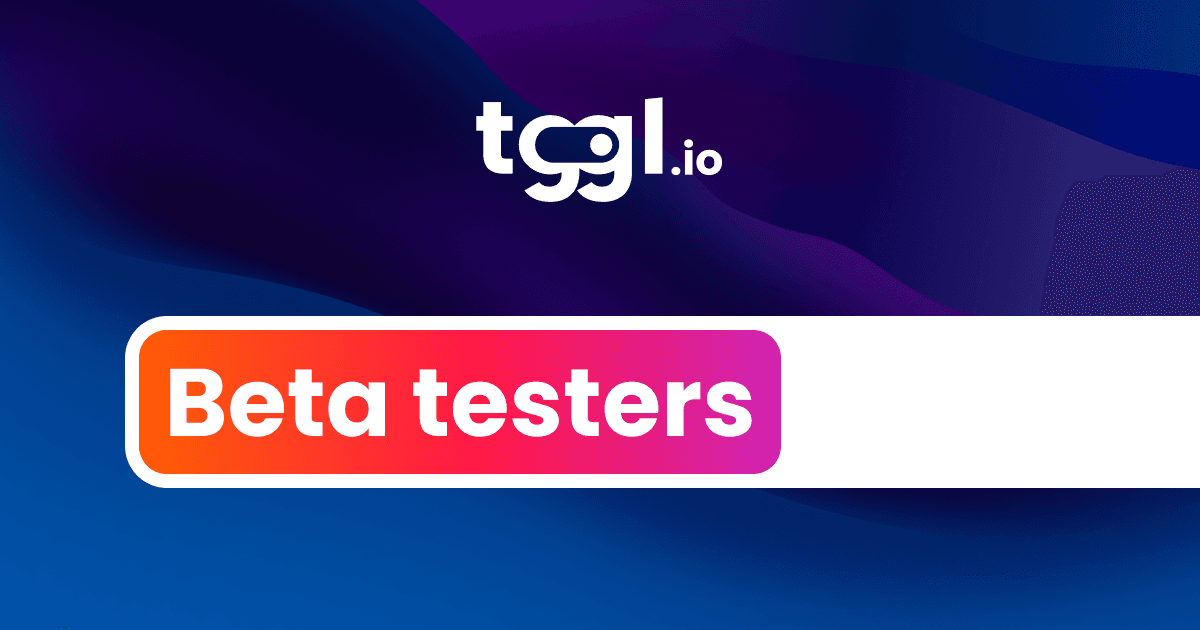
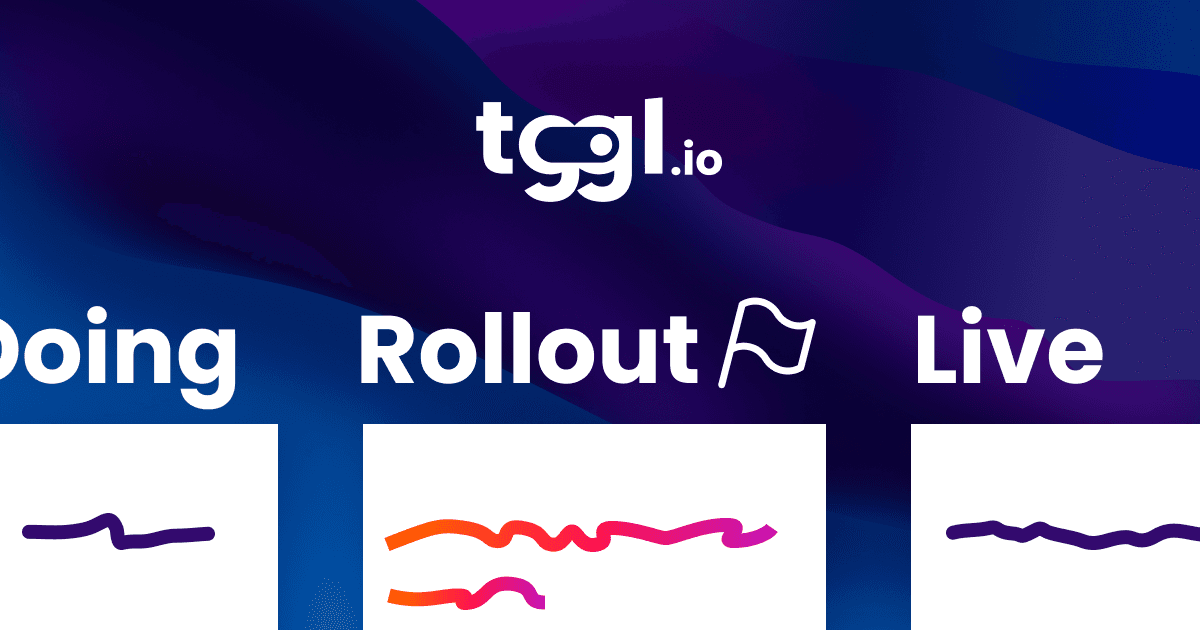
Among the tools listed in this article, feature flags, also known as feature toggles, provide the best effort-to-benefits ratio. Feature flags enable developers to merge and deploy new code as soon as it is ready and then test it live in production without affecting end-users. This approach allows new features to be hidden from all users except for a few designated individuals, giving the product team the ability to regulate who sees it. As confidence in the new feature increases, it can be gradually rolled out to a small percentage of users such as 5%, 10%, or 25% until the feature is finally available to everyone. This process enables developers to ensure that the new feature works correctly and meets expectations, resulting in a more robust and reliable software product.
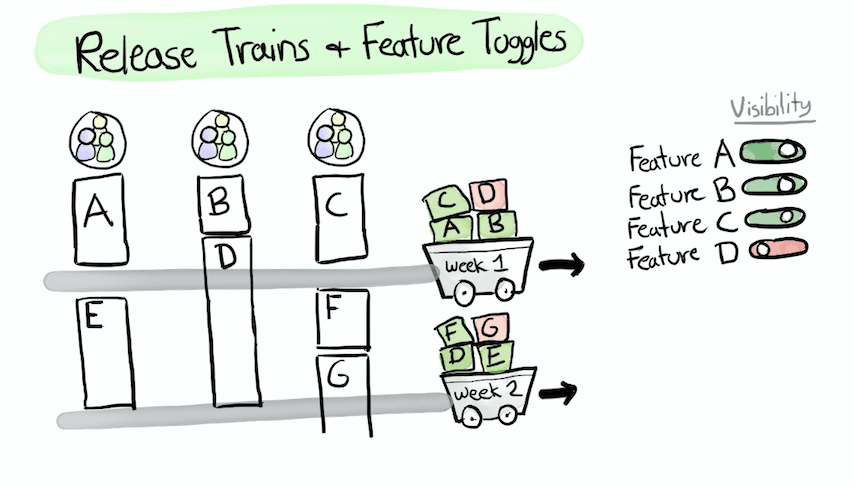
This process greatly reduces risk as issues can be spotted quickly without impacting users, and rolled back instantly without a lengthy deployment cycle. Its greater strength is that it allows your team to catch integration issues in production that could never be caught with unit tests or QA on a staging environment.
Merging code early also has the added benefit of limiting merge conflicts when multiple developers work on the same codebase as well as shipping features faster and moving to the next one quicker.
Feature flags can be used for different use cases:
-
Progressively roll out a new feature: catch integration issues and scale/volume-related errors quickly without impacting end-users.
-
Kill switches (also known as emergency flags): they are particularly useful in situations where a feature is causing significant performance problems, security vulnerabilities, or other critical issues.
-
A/B testing: compare different versions of your app and see which one performs the best.
-
Remote configuration: give non-technical teams a way to enable and set up different aspects of your app, potentially to specific users, autonomously without requiring the intervention of a developer.
We obviously highly recommend Tggl as your go-to tool for feature flag management. It supports all use cases listed above and has features focused on team collaboration. Overall it offers a great user experience which is crucial for this type of tool, and you can get started in less than 3 minutes.
4 - Monitor your application in real-time
Until now, all tools we saw in this article were focused on preventing bugs from reaching your users. But since no process in the world is bulletproof, you also need ways to be notified when something goes wrong.
In a nutshell, monitoring is the practice of keeping track of various metrics and events within your app to ensure that everything is running smoothly. These metrics can include things like server response times, error rates, and user activity, among others.
With such tracking in place, you can identify issues and bugs immediately as they appear to quickly pinpoint any slowdowns or bottlenecks in your system and take action to resolve them. Similarly, monitoring error rates and user activity can help you identify and fix bugs and usability issues.
The quickest way to get started is to use a tool like Hyperping to automatically ping health check endpoints of your application every few seconds and immediately alert you via Slack or SMS when your app is not responding properly. It even automatically builds a status page with a history over the last 90 days.
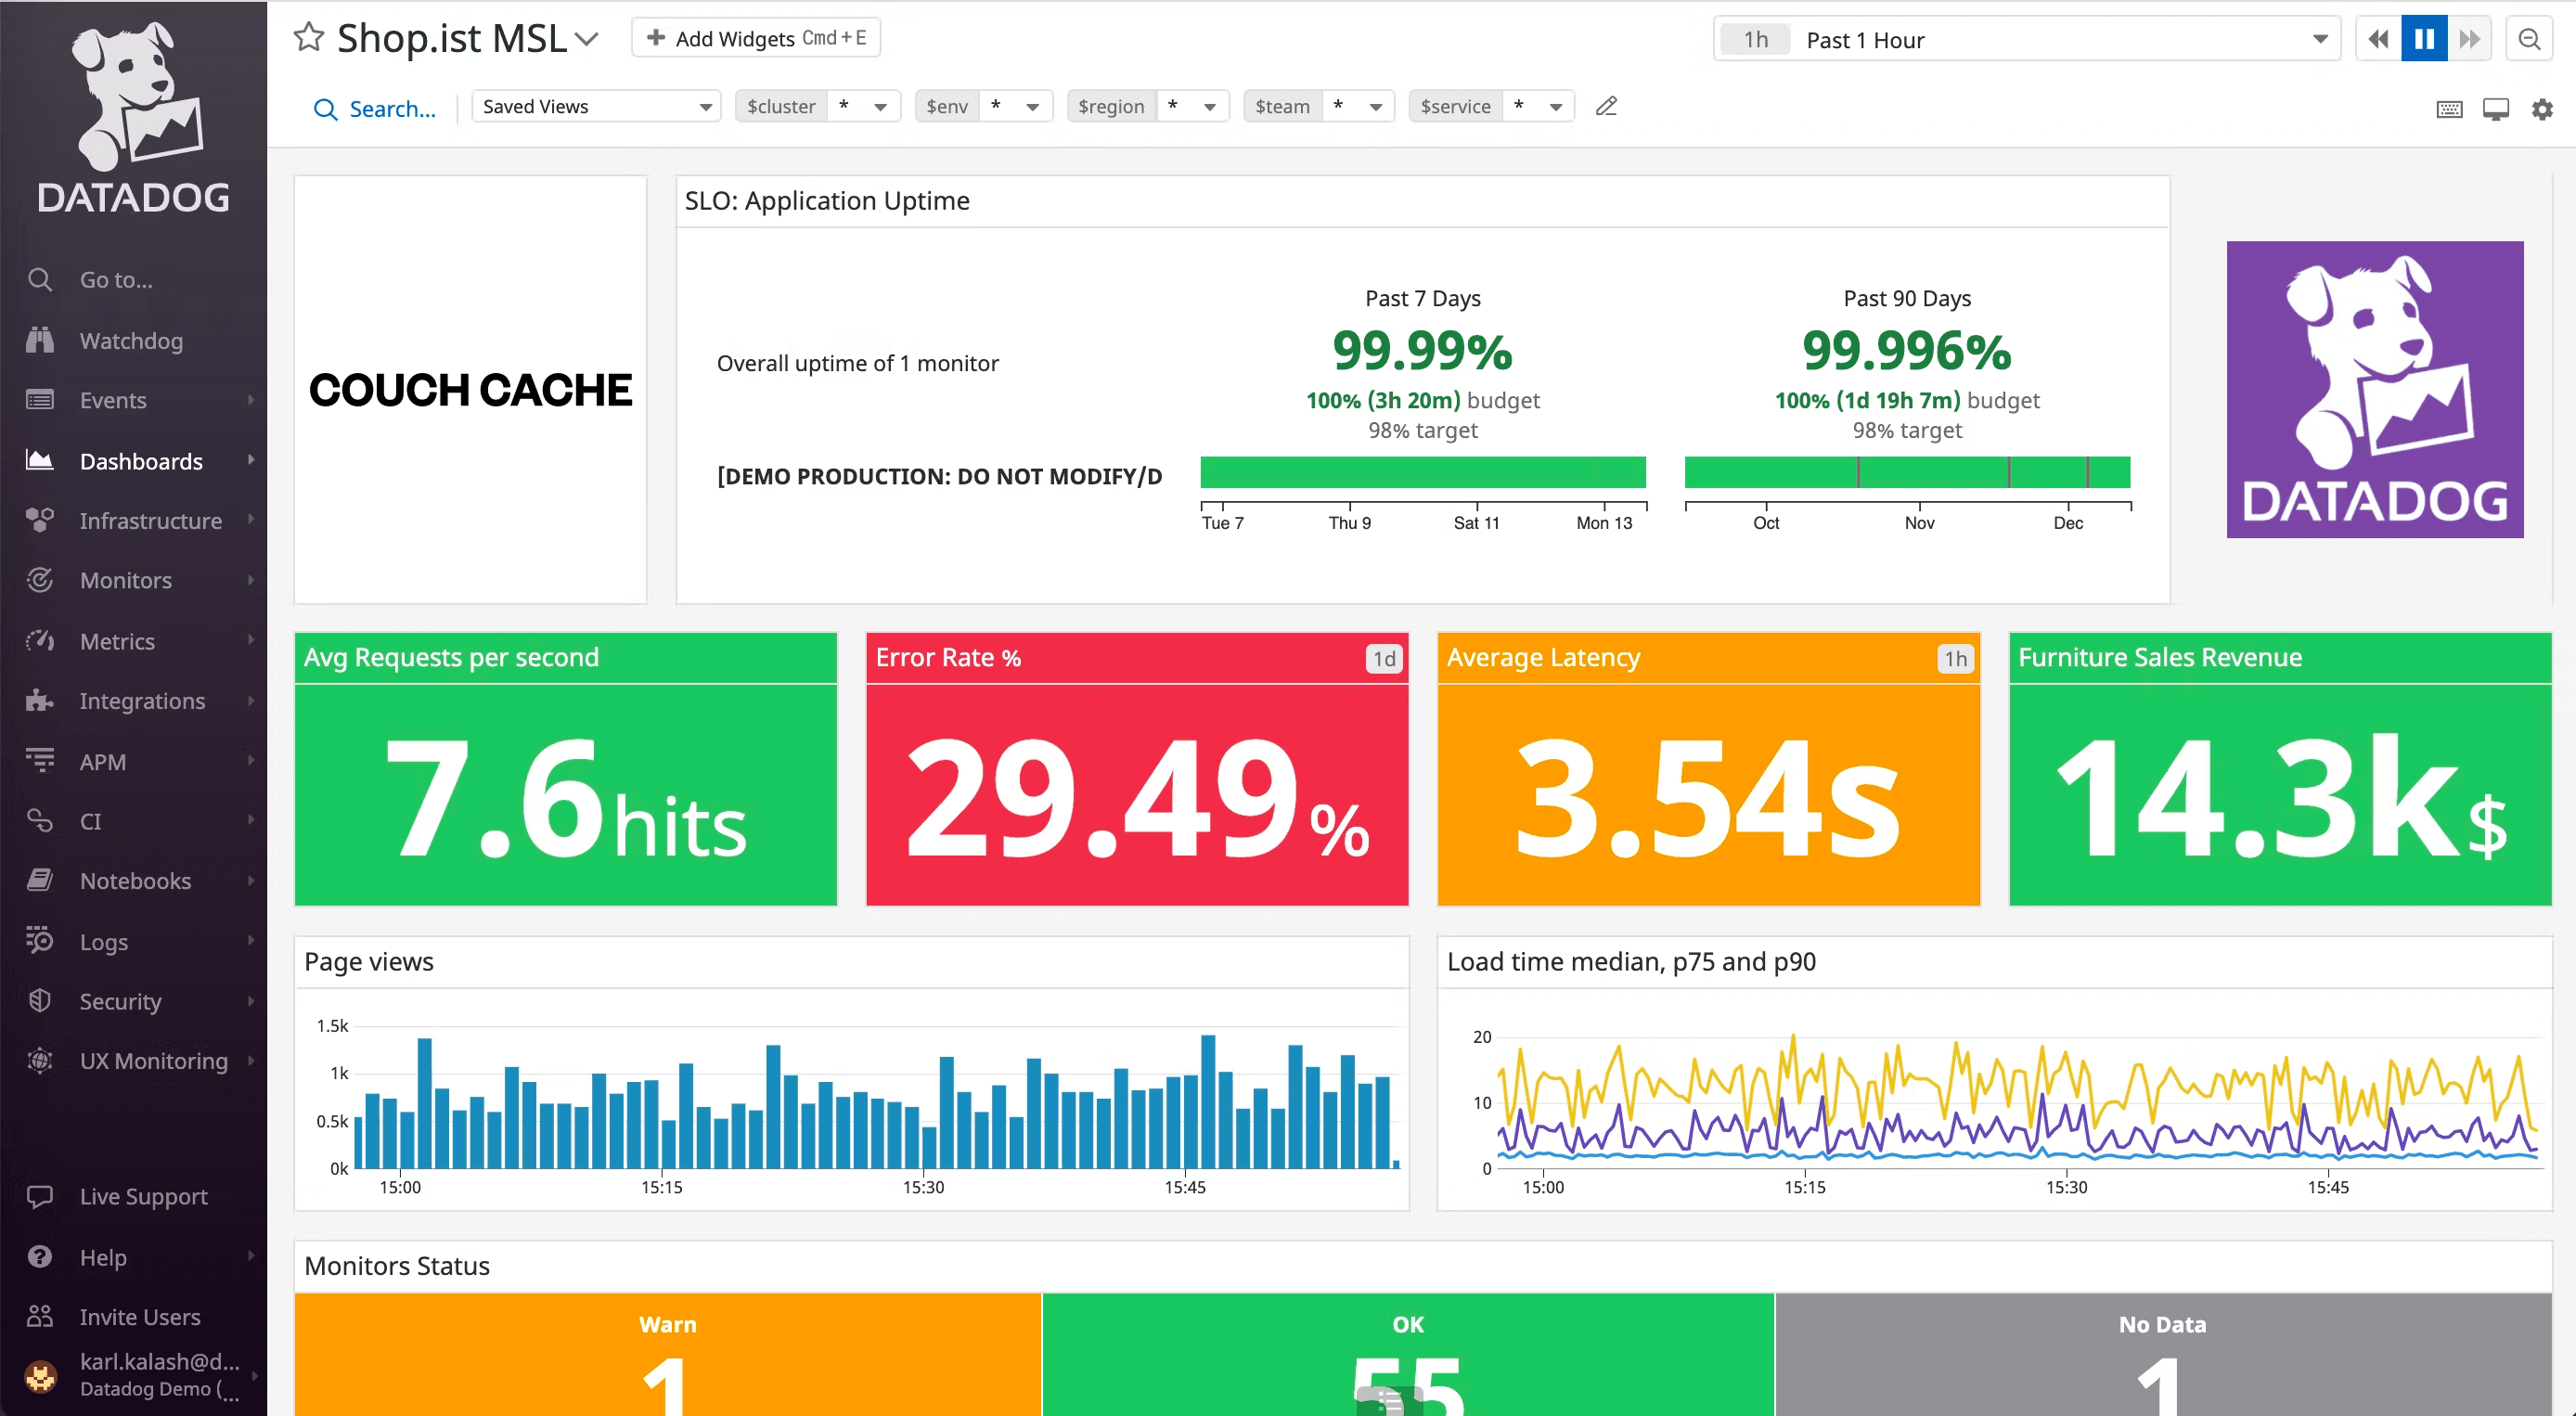
When you are ready to invest a bit more time you can start logging data to a tool like Datadog. It allows you to monitor your response times, error rates, and other business metrics in real-time. This data can then be used to build dashboards that can be displayed on monitoring TVs in your offices.
5 - Use an issue tracker
Keeping track of bugs and issues can be a nightmare. That's where an issue tracker comes in. An issue tracker is a tool that helps you and project managers keep track of bugs and silent issues that your users don't even see.
Issue trackers provide a central location for tracking issues and keeping everyone on the same page. They allow developers to assign tasks to team members, track progress, and prioritize issues based on their severity. This helps ensure that nothing falls through the cracks and that issues are resolved in a timely manner.
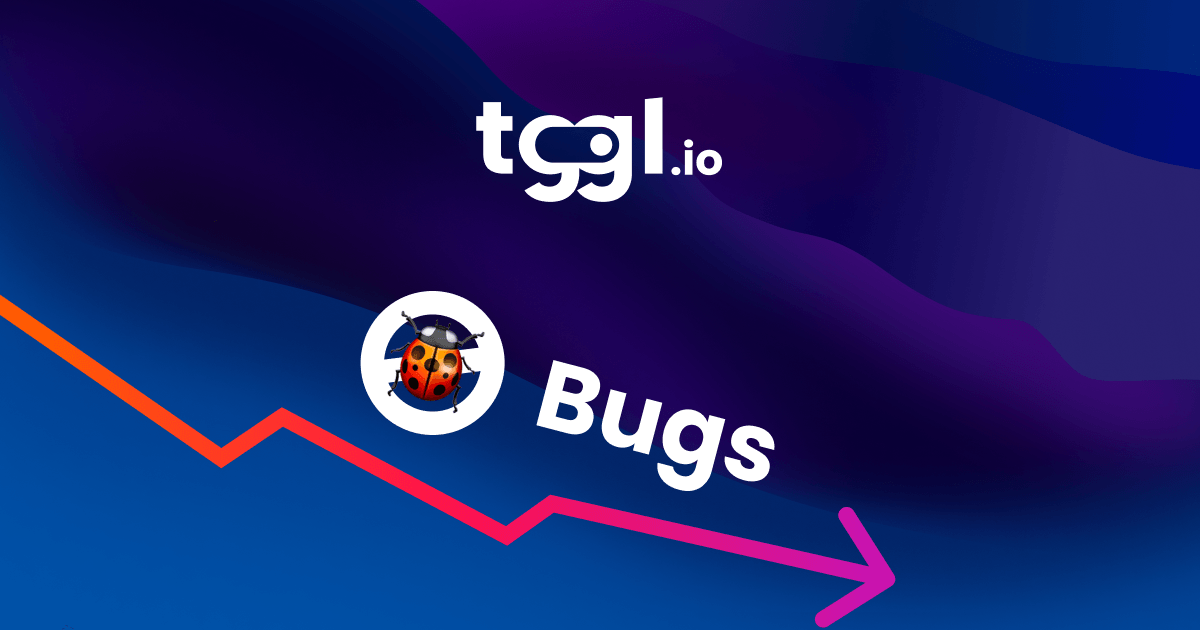
One popular issue tracker is Sentry. Sentry helps you monitor all errors that are thrown in your code. It provides real-time error tracking, alerting, and diagnostics for web and mobile applications.
Sentry integrates with a wide range of programming languages and frameworks, making it easy to integrate it in minutes in your application. It allows you to capture and aggregate error data, analyze trends, and quickly diagnose and fix issues.
One of the key aspects is its ability to aggregate similar errors. This allows you to see exactly when a particular issue started to appear, correlate it with a code change, and check that the fix actually fixes the issue.
In conclusion, an issue tracker is a crucial tool for software development teams. It helps ensure that bugs and issues are properly tracked and resolved, improving the quality and reliability of the final product. If you're not already using an issue tracker, we highly recommend giving Sentry a try.
Conclusion
Delivering software is hard. The tools mentioned here are a great way to reduce risk and minimize bugs. By leveraging the power of automated testing, feature flags, error tracking, and other tools, you can catch bugs earlier in the development process, reduce the time and effort required to fix them, and ultimately deliver more reliable and higher-quality software to your users. While no tool is a silver bullet, each of the tools contributes to the end goal of delivering the best software possible.